

5 iPhone Tricks That Will Take Your Photography Skill to the Next Level
Taking excellent quality photos doesn’t necessarily require the use of a high-quality camera. In fact, you can achieve DSLR-quality photos with your iPhone. How? Here are some genius tricks that are worth knowing.
- Use burst function for motion shots.
When taking motion shots, such as jump shots and hair flip shots, taking sequential photos instead of one single photo allows you to pick the best one to keep or share. And if you’re feeling fancy, you can even turn your sequence photos into GIF.
- Choose your focus.
Your iPhone’s default focus is the front and centre subject, but you can change this by simply tapping any part of the frame that you would like to place the focus on. Tap and wait for a few seconds, and your phone will automatically provide the right lighting based on how exposed your focused subject is.
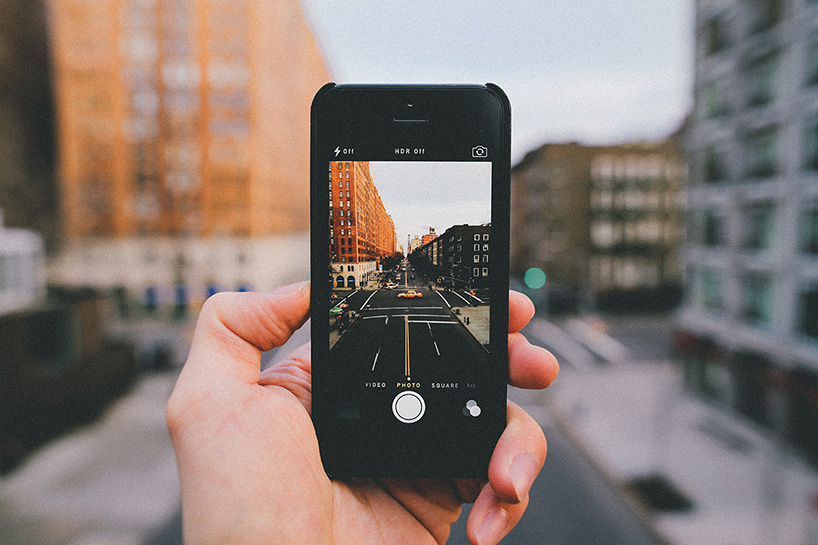
- Take crisp-looking images with the HDR function.
Stands for High Dynamic Range, HDR works by actually taking three photos: an underexposed one, an overexposed one, and a photo that falls somewhere in the middle. The three photos seamlessly blend together, removing the low and high tones during the process. The result? An image with more colour and depth than a standard photo.
- Capture static subjects with Time Lapse
This iPhone feature is great for shooting largely static subjects that change very slowly—flowers opening and closing, the clouds moving across the sky. It’s a recording mode that captures videos at a very low frame rate (one to two frames per second), which means that when played at a normal rate (30 frames per second) it has been sped up. In order to get something worthwhile, try to record at least 30 seconds worth of footage.
- Change subject exposure manually with the smart slider feature.
If taking a shot of something that’s a bit too dark or too light, manually alter the lighting with the camera’s smart slider feature. Tap a certain area of the frame and use your finger to slide the sun icon up or down to adjust brightness. That will make it easier for you to adjust photo lighting based on a certain subject.
So the next time you take a photo with your iPhone, make sure to apply one or two—or all—of these tricks. For sure, you’ll be very happy and be able to impress your social media friends with your compelling and beautifully artistic photos.
